Okay, I lied…maybe not exactly sexy, but certainly more economical, healthy and filled with love than store-bought ghee. And that can be sexy, can’t it?
 Why make your own ghee?
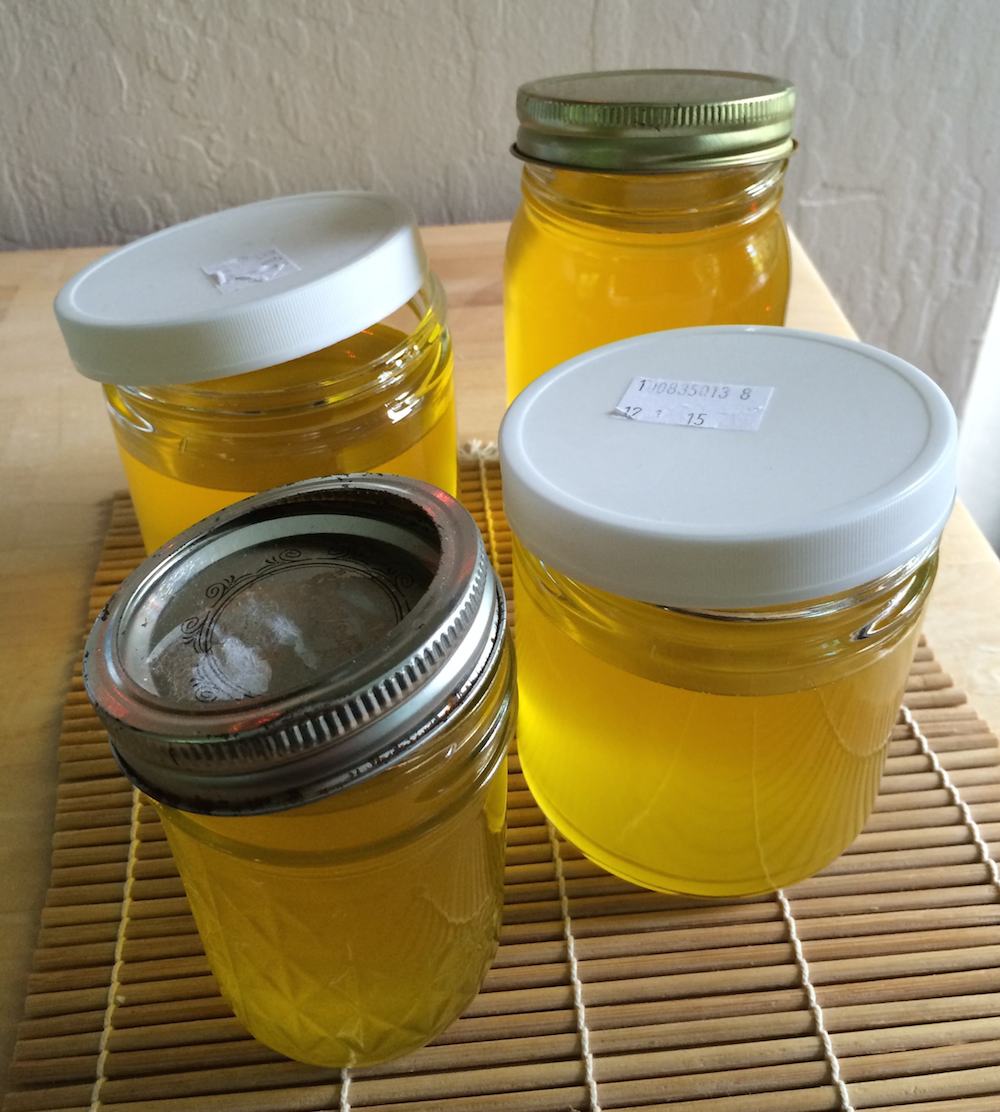
Ghee is one of best oils to keep handy in your kitchen because it doesn’t burn or oxidize easily; therefore it’s a great oil to use for cooking.
Our body needs healthy oils for the digestion, absorption and assimilation of minerals and vitamins in our food. Ghee also contains phenolic antioxidants, which bolster the immune system.
For those who are allergic or sensitive to dairy products (lactose or casein intolerant), ghee is usually well tolerated because the problematic milk proteins are left in the pan, leaving a clear, nutritious oil.
An Ayurvedic perspective
Ghee is an essential in your kitchen, according to Ayurvedic practitioners. Ghee nourishes the cells, improves memory, lubricates the joints and makes the body flexible. It stimulates the liver to produce fat-soluble vitamins A, D, E, and K, and, if the butter is sourced from grass-fed cows, contains Conjugated Linoleic Acic (CLA), a substance with a variety of documented benefits including increasing metabolism and decreasing belly fat. Ghee is some good stuff!
Both Vata and Pitta doshas are pacified by consuming ghee. Kaphas should limit (but not eliminate!) their intake, as should people who are overweight or have high cholesterol.
It makes a fine body oil for massage and is a good base for herbal ointments for burns, skin rashes and other skin ailments.
Here are the simple step-by-step instructions
Do not cover the pot. This process removes the water from the butter and a lid would keep it from evaporating.
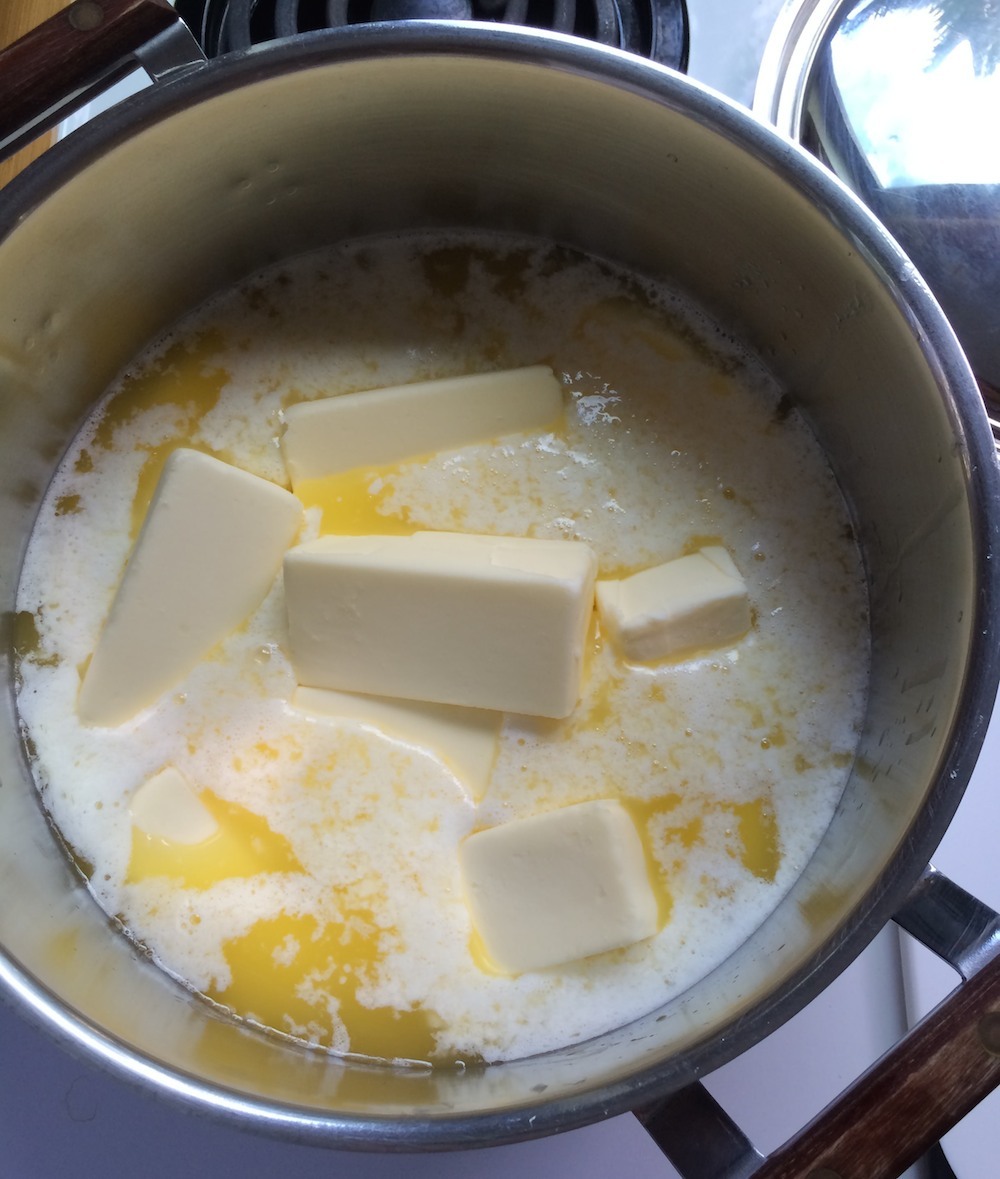
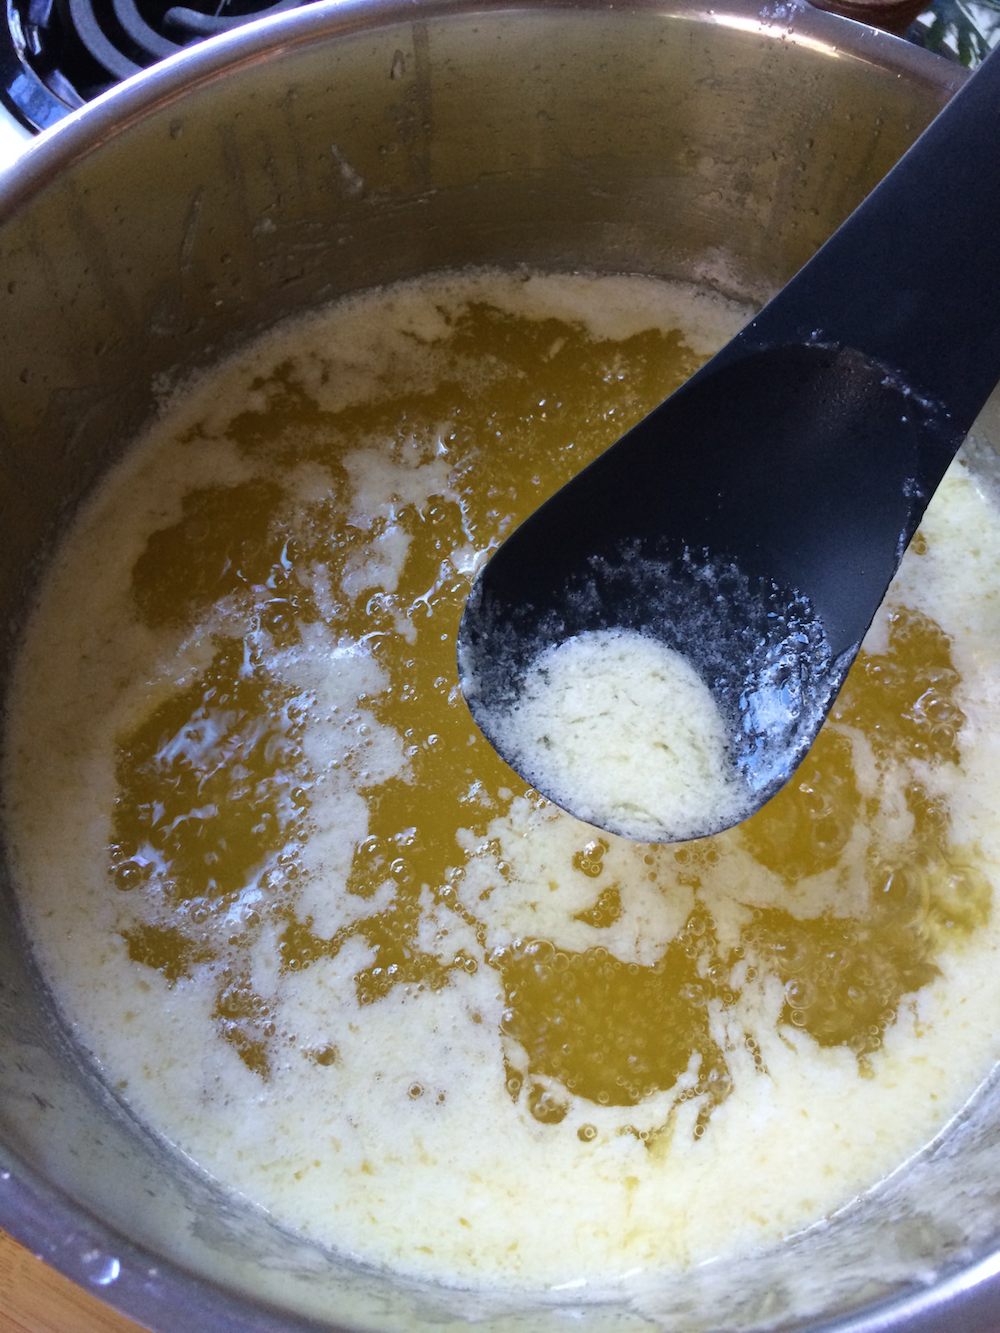
2) As the butter melts, the white foam of milk solids will accumulate on top. As it begins to thicken, skim it off and discard.
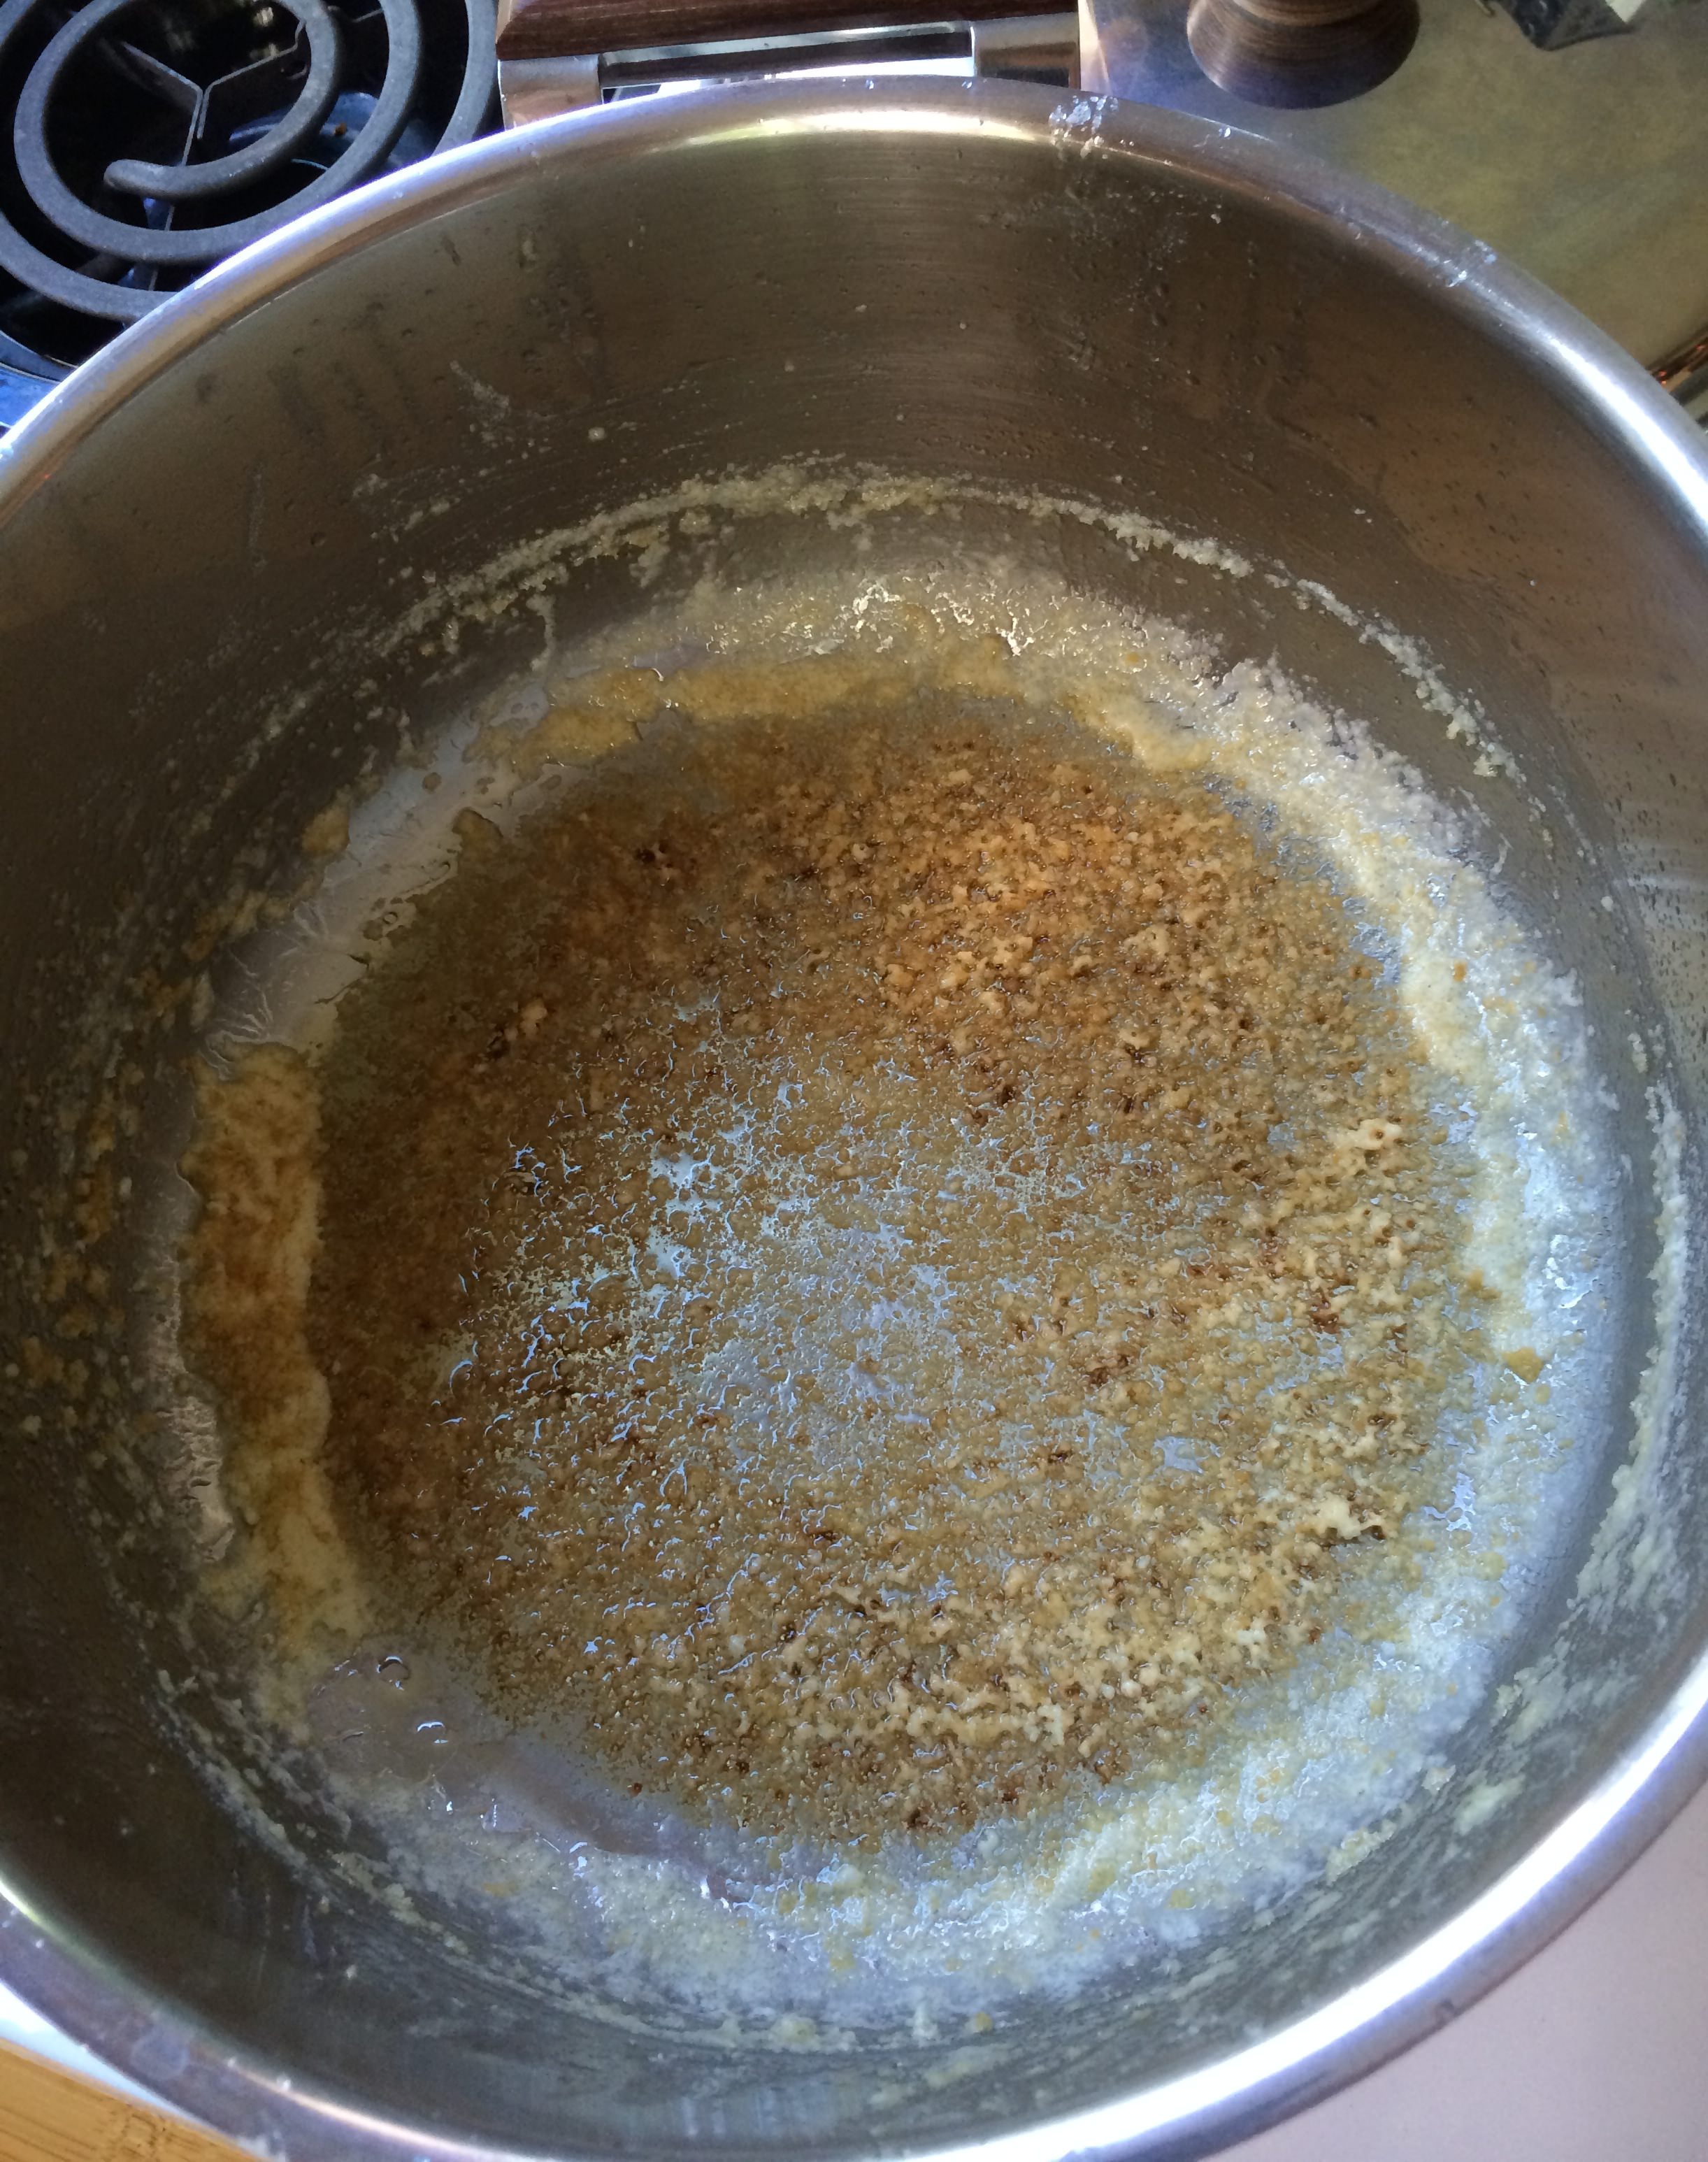
Do not disturb the bottom of the pan, as some of these solids will also sink and will be left in the pot after the ghee is poured off. It will begin to smell like popcorn during this stage and you’ll hear a crackling sound, which is the water burning off.
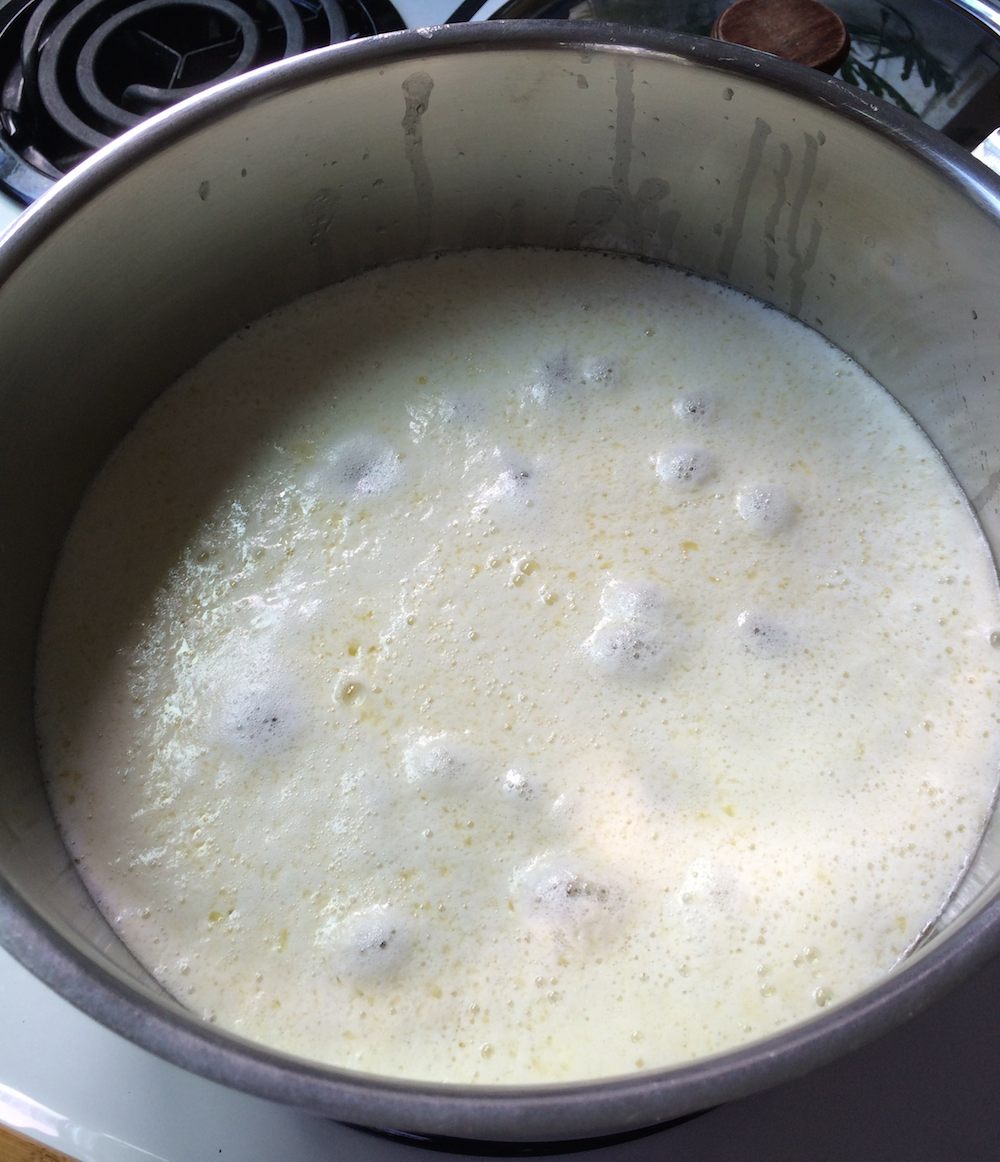
3) As the butter continues to simmer, watch the oily portion to see when it becomes clear. This is the critical stage and you’ll want to pay attention so you don’t burn your ghee!
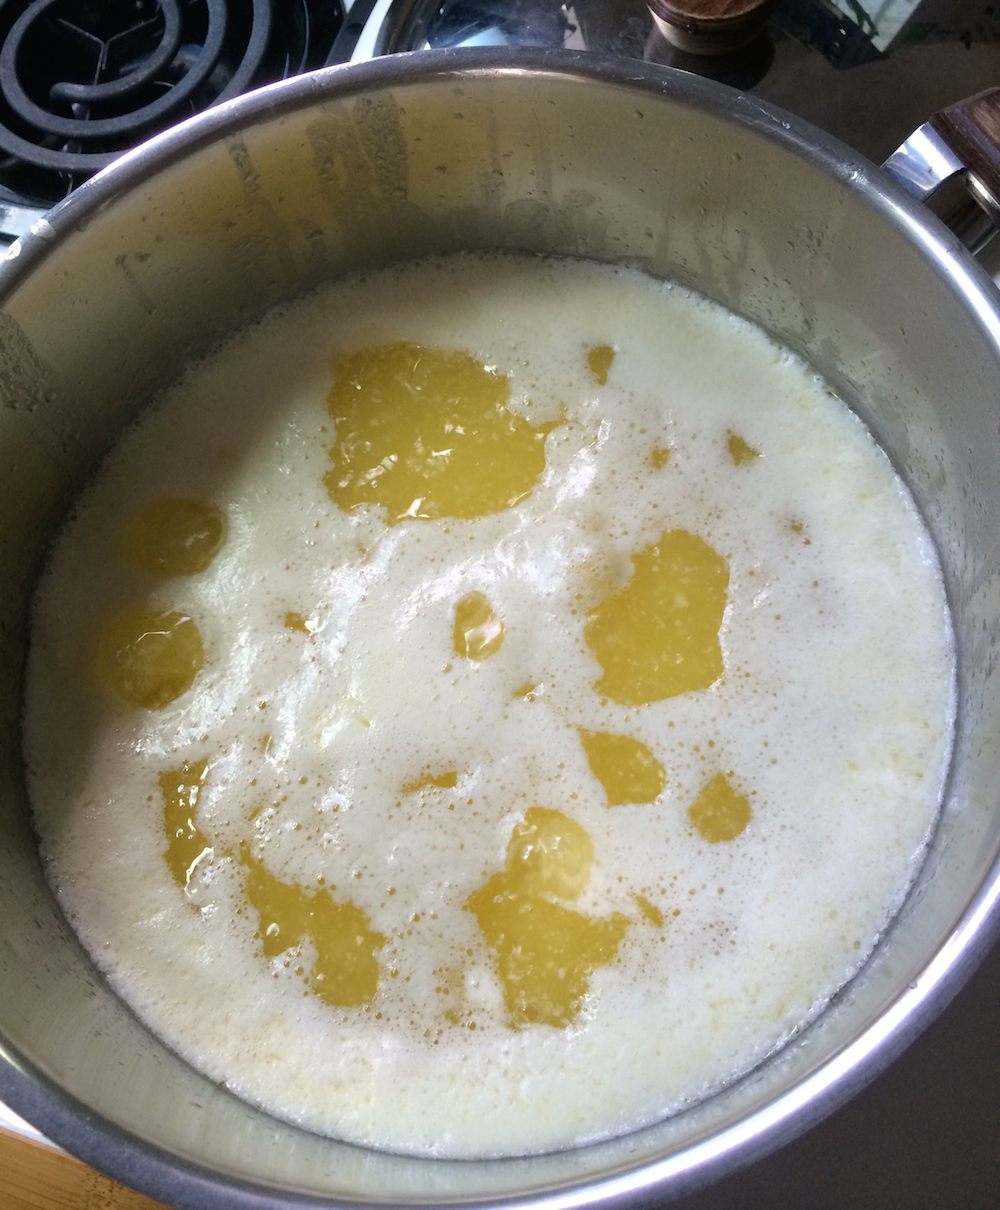
4) When the solids on the bottom of the pan start to turn a light golden brown, and the crackling sound stops, it’s done!
Remove from the heat, and let it cool until it is just warm.
Be careful—if the smell becomes nutty and the color of the liquid goes from buttery yellow to brownish, you’ve burned your ghee.
5) Strain the liquid through several layers of cheese cloth to catch any of the solids, catching it in either an earthenware, glass or metal container.
Let it cool down completely before you put the lid on the jars. Use a jar that has a tight-fitting lid to keep moisture out.
Store the ghee in a cool dark place. If you refrigerate it the ghee will keep for a year. Without refrigeration it will last about three months.
Use a clean, dry spoon when using your ghee. If water gets into it, you will create an environment for bacteria to grow and ruin the purity of your ghee.
Use your beautiful, golden ghee on vegetables, quinoa and just about anything you want to season with a rich, buttery flavor!
What you can do next
- Please feel free to share in the comments below…we’d love to hear your thoughts and reflections on this article!
- SUBSCRIBE to Rupali’s YouTube channel for beautiful relaxing meditation music. It’s FREE!
- Because this website is a free offering to the yoga community, we welcome donations! Buy us a ‘booch here!
- Grab your free pdf of this post by clicking the button below.

I love ghee!!! Thank you so much for the recipe. I buy it from the store now but will definitely try making it. It’s soooo yummy!
Glad our post helped you get motivated to make your own! You’ll love the results and the money you save. :o)
Sounds delicious and I just bought 4 sticks of grass fed unsalted butter because whole foods actually had some in stock! Gotta get it while you can around here
Great, Marina. I usually start with a few pounds of butter, so I don’t have to make the ghee so often. Let us know if you have any questions, once you get started.
This is great. I simply love ghee and use it with everything!
Me too, Enid! Thanks for visiting. 🙂